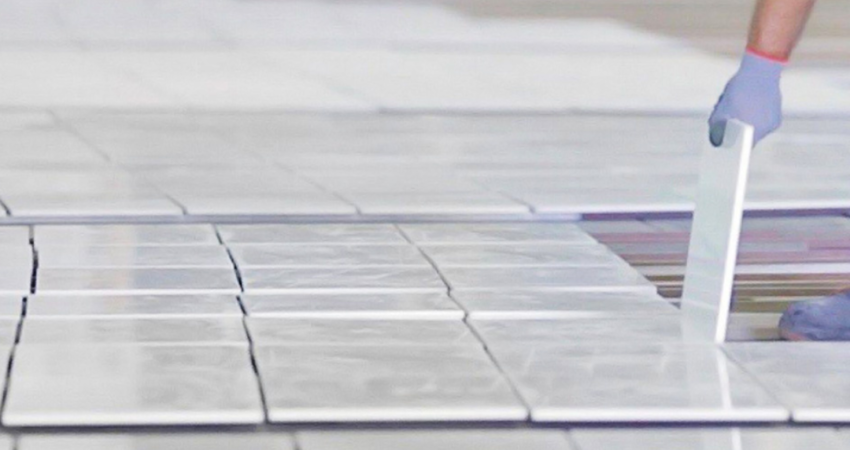
Install marble like a professional with this comprehensive guide designed to help you master the process. Marble has long been a symbol of luxury, timelessness, and sophistication, making it a favorite material for interior designers, architects, and homeowners alike. Whether it’s used in countertops, backsplashes, flooring, or tiles, the versatility of marble enhances any space. However, the key to achieving the best results lies in the proper installation process, so we will show you how to install it beautifully and effectively
At Shawkat Stone, we’re committed to supplying the highest-quality Egyptian marble and in this comprehensive guide, we’ll walk you through everything you need to know about installing marble, covering best practices for countertops, backsplashes, floors, and more. By following these steps of this guide, you can ensure a smooth and long-lasting installation that brings out the beauty of your marble.
Why Choose Marble for Your Next Project?
Marble has long been a preferred material for luxury designs due to its elegance, unique veining, and timeless appeal. Whether you’re looking to install marble for a kitchen countertop, bathroom floor, or a stunning backsplash, this natural stone elevates the aesthetics of any space with its sophisticated charm.
Egyptian marble, in particular, is known for its rich heritage and unmatched beauty. It’s versatile and available in various finishes, colors, and textures, making it a top choice for homeowners, architects, and designers aiming to create unique, high-end environments. Its durability and adaptability allow for use in both traditional and modern design projects.
Here, we’ll explore the step-by-step process to install marble in various applications, including countertops, backsplashes, flooring, and tiles, while highlighting important considerations for a successful installation. Proper techniques and materials can ensure that your marble project stands the test of time.
Preparations to Install Marble
Before jumping to install marble, it’s crucial to fully prepare to ensure a smooth, durable, and flawless result. Proper preparation prevents potential complications and ensures a lasting installation. Key areas to focus on include accurate measurement of the space, ensuring the surface is clean, flat, and stable, and carefully choosing the right tools and adhesive. Additionally, making sure your substrate is suitable for marble and using appropriate sealants can further enhance the longevity of your marble installation. Thoughtful preparation will make the difference between a successful installation and future issues like cracking or shifting.
1. Measuring and Planning
Accurate measurement is the first essential step when you are about to install marble. Whether you’re working with countertops, backsplashes, or floors, precise measurements help you order the right amount of marble and avoid waste.
- To install marble countertops, measure the total surface area and consider cutouts for sinks or appliances.
- When you are about to install marble floor, make sure to account for any thresholds, stairs, or other irregular areas.
- To install marble backsplashes, ensure that your measurements cover the entire wall space, including the area behind appliances.
Once you have your measurements, sketch a layout of your design. This step helps you plan the placement of each marble slab or tile, ensuring the veining aligns beautifully.
2. Surface Preparation
The surface where you’ll install marble must be clean, dry, and level. Depending on the application, there are specific considerations for surface preparation:
- Countertops: Ensure the cabinets or base structures are stable and can support the weight of the marble slabs.
- Flooring: The subfloor must be even and free from debris. You may need to install a backer board or underlayment to provide extra stability.
- Backsplashes: The wall should be smooth and primed to allow for the best adhesion.
Proper surface preparation ensures that your marble adheres correctly and remains durable over time.
3. Choosing the Right Adhesive and Tools
Using the correct adhesive is essential for any install marble process. Here are the best options depending on your project:
- Thin-set mortar: It’s ideal to install marble tiles on walls or floors.
- Epoxy or marble adhesive: Perfect for heavy-duty applications like countertops.
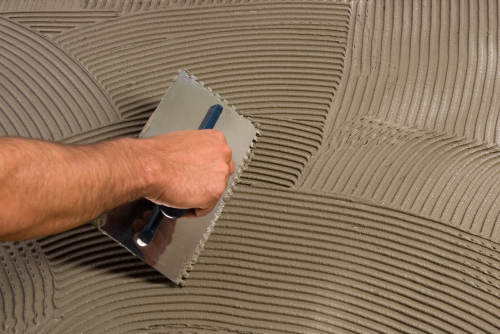
Additionally, you’ll need a wet saw with a diamond blade to cut marble without chipping, spacers to ensure even gaps between tiles, and a notched trowel to apply the adhesive.
Installing Marble Countertops
Marble countertops can elevate the look of any kitchen or bathroom. However, install marble countertops process surely requires precision and care to ensure durability and visual appeal.
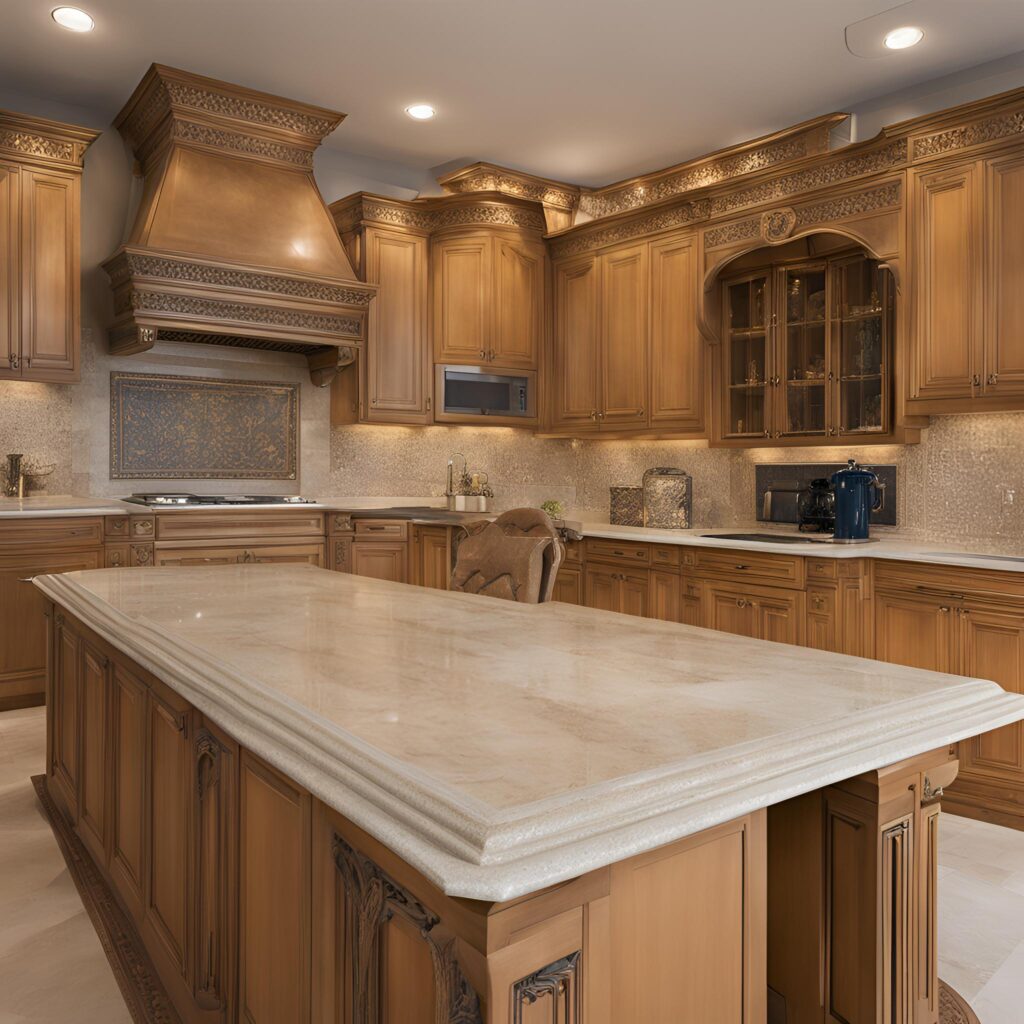
Step 1: Dry Fit the Marble Slabs
Before securing the marble, dry-fit the slabs to ensure they fit correctly. This is especially important when dealing with multiple pieces, as you’ll want to make sure the veining aligns for a seamless look.
Step 2: Apply the Adhesive
Once you’ve positioned the slabs, apply an epoxy or marble adhesive to the base cabinets using a notched trowel. Spread the adhesive evenly to ensure full coverage.
Step 3: Secure the Marble
Carefully place the marble slab on the adhesive and press it firmly into place. Use a level to ensure the slab is even. If adjustments are needed, use shims to fine-tune the height.
Step 4: Sealing the Seams
After the marble slab is set, fill the seams with a color-matching epoxy or silicone. This prevents any water or debris from getting in between the slabs, which could cause damage over time.
Step 5: Sealing the Marble
Marble is porous, which means it can absorb liquids and stain if not properly sealed. After you install marble, apply a high-quality sealer to protect the surface from spills and etching.
Installing Marble Flooring
Install marble flooring process is a luxurious option that adds elegance to any space, but the installation process requires patience and attention to detail.

Step 1: Dry Fit the Marble Tiles
As with countertops, dry-fit the marble tiles on the floor to ensure you have the right layout. This is crucial when working with tiles that have strong veining patterns, as you’ll want the veins to flow naturally.
Step 2: Apply Thin-Set Mortar
Spread a thin layer of thin-set mortar on the subfloor using a notched trowel. Work in small sections so the mortar doesn’t dry out before you lay the marble tiles.
Step 3: Lay the Marble Tiles
Place the marble tiles on the mortar, pressing down gently. Use spacers between the tiles to ensure even gaps. Check the level of each tile as you go to avoid any unevenness.
Step 4: Grout and Seal
Once the mortar has dried, fill the gaps between the tiles with non-sanded grout. Wipe away any excess grout with a damp sponge, and then seal the marble to protect it from moisture and staining.
Installing Marble Backsplashes
The way you will use to install marble backsplash can completely transform a kitchen or bathroom, adding elegance and depth to the design. Here’s how to get it right.
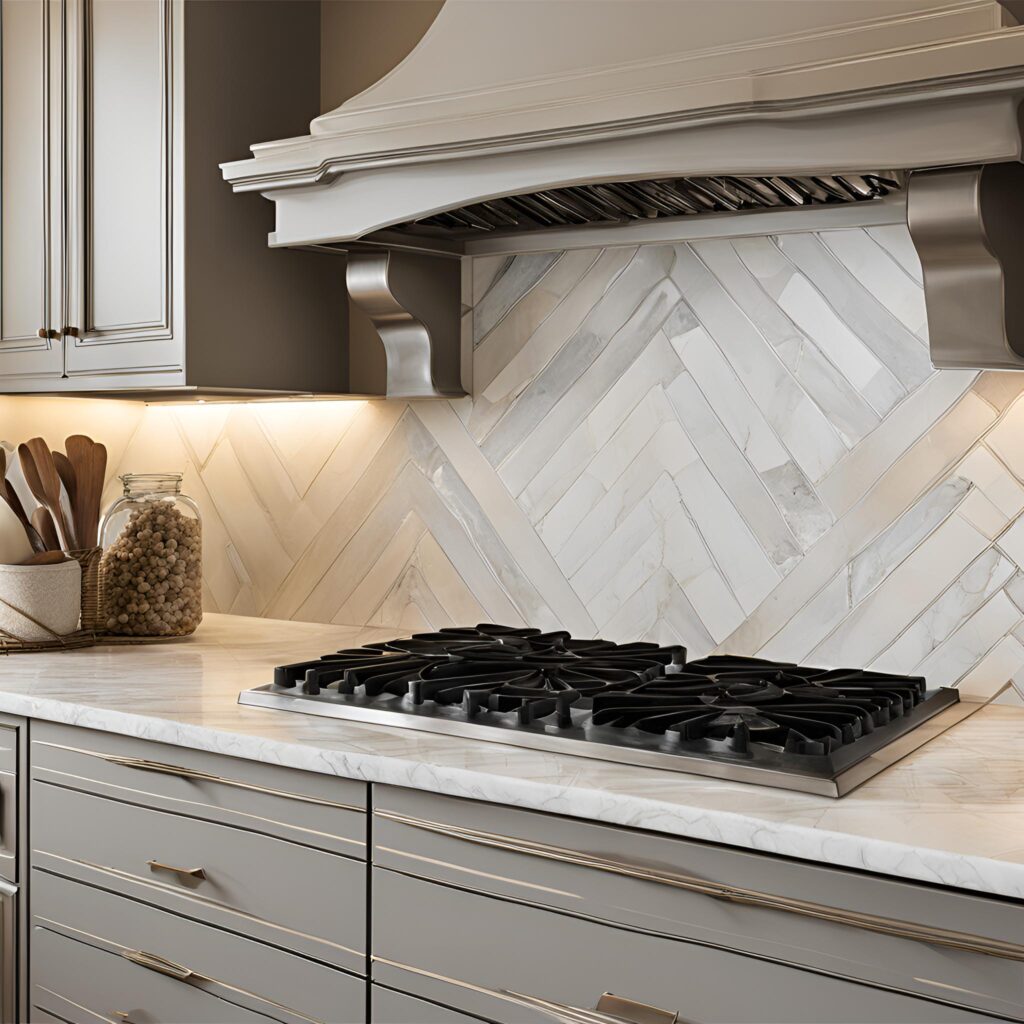
Step 1: Prepare the Wall
When you are about to install marble backsplashes, you need to make sure that the wall is clean, dry, and primed. The smoother the wall, the better the adhesion will be and you will have a flawless installation process.
Step 2: Dry Fit the Marble Tiles
Lay out the marble tiles on a flat surface to ensure they fit the space properly. Planning ahead will save you from making adjustments mid-installation.
Step 3: Apply the Adhesive
Use thin-set mortar or a marble adhesive to affix the tiles to the wall. Apply a thin, even layer of the adhesive with a notched trowel, starting from the bottom and working your way up.
Step 4: Set the Marble Tiles
Press the marble tiles onto the adhesive, using spacers to keep the gaps even. Once the tiles are in place, use a level to ensure everything is aligned perfectly.
Step 5: Grout and Seal
Allow the adhesive to cure, then apply grout to fill the spaces between the tiles. Once grouted, wipe the excess away and seal the marble to prevent water and oil stains.
Installing Marble Tiles
Whether you’re working with wall or floor tiles, to install marble tiles is a process requires a steady hand and the right materials to create a smooth and seamless finish.
Step 1: Plan Your Layout
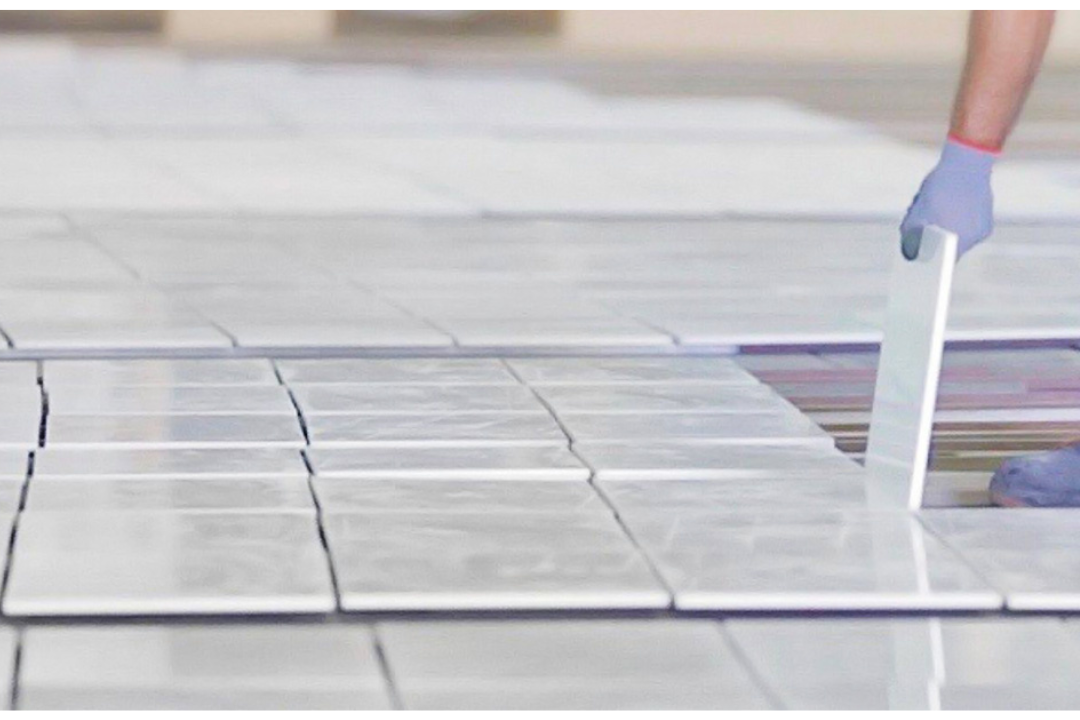
Before laying any marble tiles, create a layout to ensure that the veining aligns and that any cuts will be hidden in corners or less noticeable areas.
Step 2: Apply Thin-Set Mortar
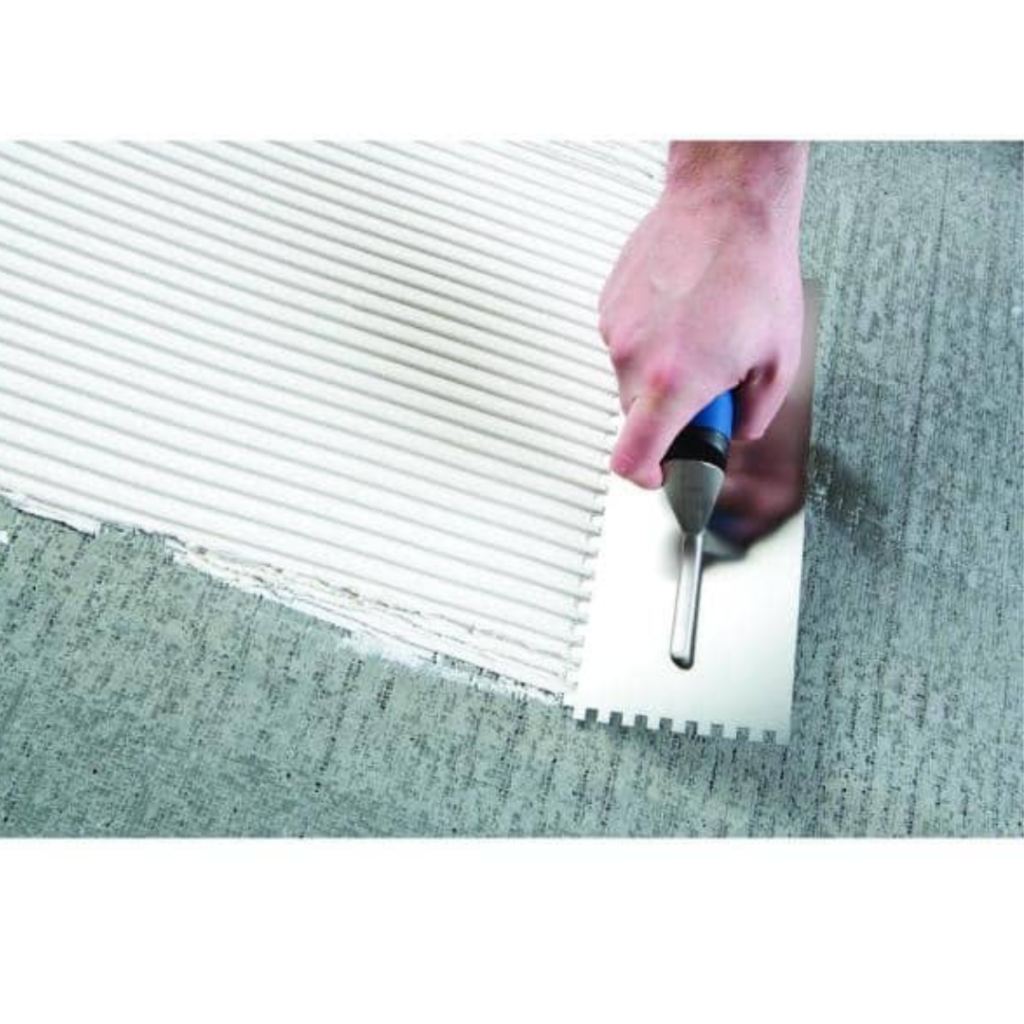
Use thin-set mortar for installing marble tile on floors or walls. Spread the mortar evenly with a notched trowel and work in small sections to ensure the mortar doesn’t dry before you lay the tiles.
Step 3: Lay the Marble Tiles
Carefully place the marble tiles on the mortar, pressing them down lightly. Use spacers between each tile to keep the gaps consistent and ensure that the tiles are level.
Step 4: Grout and Seal
Once the tiles are set, apply a non-sanded grout between the tiles. Clean off any excess grout with a sponge, and then seal the tiles to protect against stains and water damage.
Choosing the Right Adhesive for Marble Tiles: A Shawkat Stone Guide
When you are about to install marble, selecting the right adhesive is crucial to achieving a flawless, long-lasting installation. With Shawkat Stone’s premium Egyptian marble, you want to ensure that your tiles not only look elegant but also stand the test of time. Choosing the appropriate adhesive is key to preserving both the beauty and durability of your marble.
While there are several adhesives on the market, it’s important to pick the one that works best for marble specifically. For example, mastic adhesive is often used for ceramic tiles but is unsuitable when you install marble. Marble’s porous nature means that using mastic can lead to unsightly staining and discoloration, which would detract from the stone’s natural beauty.
If you’re looking for strength and durability, epoxy-based adhesives are an option. However, they can be tricky to work with and may not be ideal for all installers, especially those new to working with natural stone. For the finest results when installing marble, Shawkat Stone recommends using thinset mortar, particularly white thinset mortar.
Here’s why white thinset mortar is your best choice when install marble:
- Porous stone protection: Marble is a light-colored, porous stone, meaning it can easily absorb moisture and pigments. Using a darker adhesive can stain the marble and compromise its pristine appearance.
- Seamless blend: Since most marble, especially Egyptian varieties from Shawkat Stone, are naturally light, white thinset ensures that the adhesive blends seamlessly with the stone, preserving its luxurious look.
For a professional and enduring result, choosing white thinset mortar will ensure that you install marble correctly and it looks impeccable, protecting it from staining while maintaining its timeless elegance.
Sealing and Maintaining Marble
No matter where you install marble—whether it’s a countertop, backsplash, floor, or wall—sealing it properly is crucial for maintaining its natural beauty and durability. Marble is porous, meaning it can absorb liquids, leading to stains or damage. A high-quality sealant will protect your marble from spills, moisture, and daily wear and tear.
Sealing
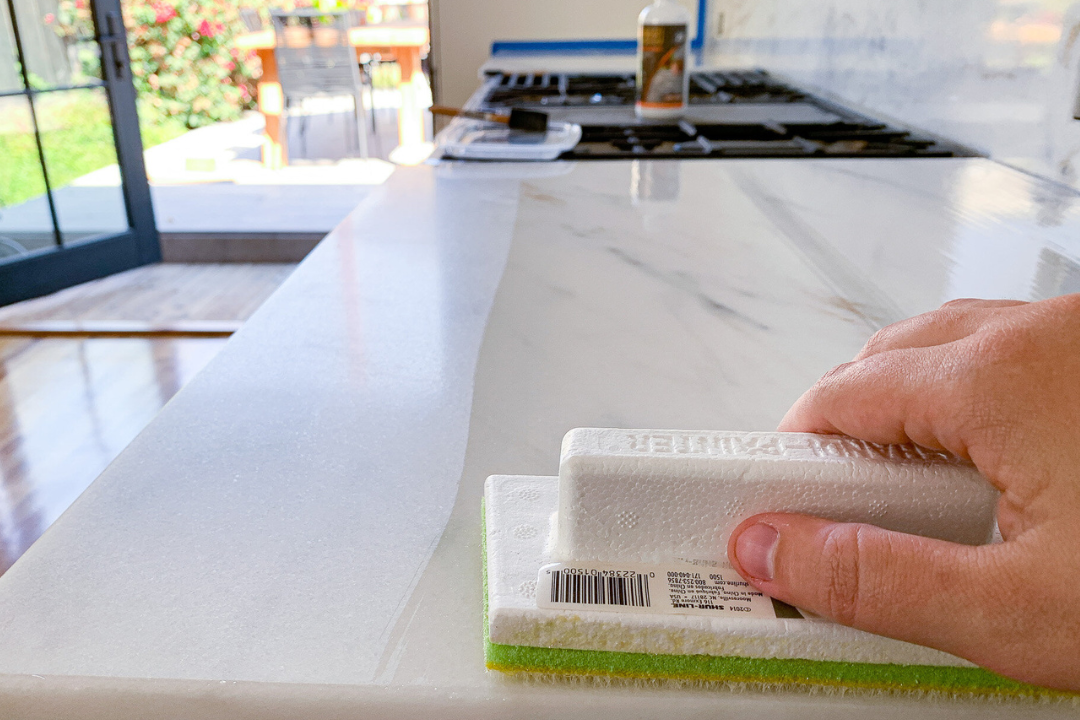
- Apply the marble sealer with a soft cloth or sponge.
- Allow it to soak into the stone for the recommended time before wiping away any excess.
- Reapply the sealer as needed, depending on the amount of traffic or use.
Maintenance
- Regularly clean the marble with a pH-neutral cleaner designed for natural stone.
- Avoid using harsh chemicals or acidic cleaners that can etch the marble’s surface.
- Reseal marble every 6 to 12 months to maintain its protective layer.
The Right Way to Install Marble
When it comes to install marble process, the key is careful planning, proper preparation, and meticulous attention to detail. Whether you’re about to install marble countertops, flooring, backsplashes, or tiles, following these best practices will ensure that your process to install marble is not only beautiful but also durable and long-lasting.
At Shawkat Stone, we provide premium Egyptian marble that adds a touch of elegance to any project. From kitchens to bathrooms and beyond, our marble slabs and tiles will elevate your space to new levels of luxury.
References:
